
For the past several years, I have known that I had space for exactly one more aquarium in my office and my tank-maintenance routine, bringing the total in my home to three. I have been hemming and hawing about what, exactly, to do with that space ever since. My original hope was to set up a marine system designed for a mantis shrimp, in fulfillment of a childhood dream, but my research into that quest showed it to be far more expensive and challenging than I was prepared to take on, especially as a third system. I ultimately settled on a different childhood dream to pursue: a paludarium.
What is a Paludarium?
For the many people who don’t recognize that word, including Microsoft Word’s spell checker, a paludarium combines a terrarium and an aquarium into a single habitat, with a land and water area joined together so that creatures can move between them as their anatomy allows. This kind of setup is typical for semiaquatic animals, including some turtles, newts, crabs, and frogs. It is wise to design any home habitat with its inhabitants in mind, and the centerpiece of this built is to be Bombina orientalis, the Asian fire-bellied toad, which until recently was one of the most common frogs in the North American pet trade and one I have excitedly imagined since childhood. More on that later. This species requires comparable land and water areas to thrive, as it spends much time both swimming and walking, so it can rarely be kept for long in anything but a paludarium.

By The original uploader was Dawson at English Wikipedia. – Transferred from en.wikipedia to Commons., CC BY-SA 2.5, https://commons.wikimedia.org/w/index.php?curid=2191587
The concept of a paludarium can run from the utilitarian to the ornate, comprising everything from a large rock in a wading pool to an elaborate sculpted background covered in epiphytes with a water feature beneath. Similarly, paludaria vary in how much land versus water they provide, with anything from a Styrofoam float in an aquarium with a basking light over it, to a terrarium with a large basin set into the substrate, getting the name. I aimed rather higher than the rock-in-a-pool image, but my dreaming of a SerpaDesign-level masterpiece collapsed immediately against the other imperatives my mind imposed:
- This build had to make as much use as possible of things I already had lying around, including leftovers of other builds and things I had purchased with my marine aquarium idea in mind before switching tracks. Similarly, the tank itself would be my 46-gallon bowfront from Miami, once it finally made the trip, rather than a tank purchased for this project. This would keep costs from spiraling out of control and would help declutter my collection of aquarium-related items by giving them new life.
- This build had to not impose permanent alterations on the aquarium I created it within. Many of the best construction methods for the land area of a paludarium rely on canned expanding foam and on affixing things to the aquarium glass with silicone sealant, both of which are difficult to remove from the tank afterward. Anything I would have to carve off the glass with a razor blade was right out. I was far too neurotic to accept processes that would render the tank unusable for anything else if the build did not go well, so the land area would have to be removable.
- This build had to have large water and land areas, rather than one being an afterthought, so that I could keep fully aquatic animals like fish in the water section and adequately house animals that required both areas to be substantial.
- The land area of this build would ideally water itself using the water area, rather than effectively be a potted plant that needed to be watered separately. This would make maintenance easier.
- The build had to look at least sort of pleasant and naturalistic, within the limits imposed by the previous strictures, rather than being a stark, utilitarian affair.

These were not simple parameters to fulfill, but I spent a long time with Microsoft Powerpoint moving shapes around to figure out how I would do it. When I was satisfied, and once the necessary pieces all came to my home, I could get to work.
The Best-Laid Plans
The easiest way to assure a substantial water area would be to have the water extend fully beneath the land, rather than having the land area be a wall or ledge all the way down. The land area would be supported or suspended above the water, in enough contact with it that the water would act like the saucer beneath a potted plant, keeping the land area hydrated. Curved sticks would provide paths for frogs to move between the water and land areas, if they proved unable or unwilling to simply climb the sides of the land enclosure. My existing stock of gravel, potting soil, filters, heaters, and more would fill out the rest. Even the plants in the water section could get their start as cuttings from my main aquarium rather than purchases on their own. Even more excitingly, a major storm in Ottawa had downed an abundance of tree branches, providing a smorgasbord of interesting sticks to try (as long as I avoided any from conifers, which are often toxic to reptiles and amphibians).
But what would be the structural basis of the land area?
Here, a purchase I originally made for my mantis-shrimp aquarium hopes found a new life. I had purchased several sections of egg crate, meant to be a safety layer to deter digging through the bottom glass and causing a leak. With some zip ties, I could connect them into a permeable structure matched to my tank measurements, which I could insert and remove as needed and which would even have supportive legs to keep it at the right height. Where possible, I left sides open to rely on the aquarium’s own glass as support, which reduced the amount of egg-crate material needed. Keeping soil inside this structure would be impossible without one more leftover from a previous idea: enough window screen material to make a multi-layer wrapper around the whole thing, with the edges hidden to avoid injuring sensitive wildlife.

This was a more difficult thing to construct than I anticipated, with a few false starts and revisions. Getting the arrangement of zip ties right took a few tries, and the screen wrapper was even more involved. Eventually, I succeeded, using a measuring tape and a lot of zip ties to make sure everything was aligned correctly. The cut slits in the window screen to allow the legs of the structure to extend through it was one of the trickier parts, since they had to be aligned with my overall wrapping scheme. “Measure twice, cut once” proved its worth.
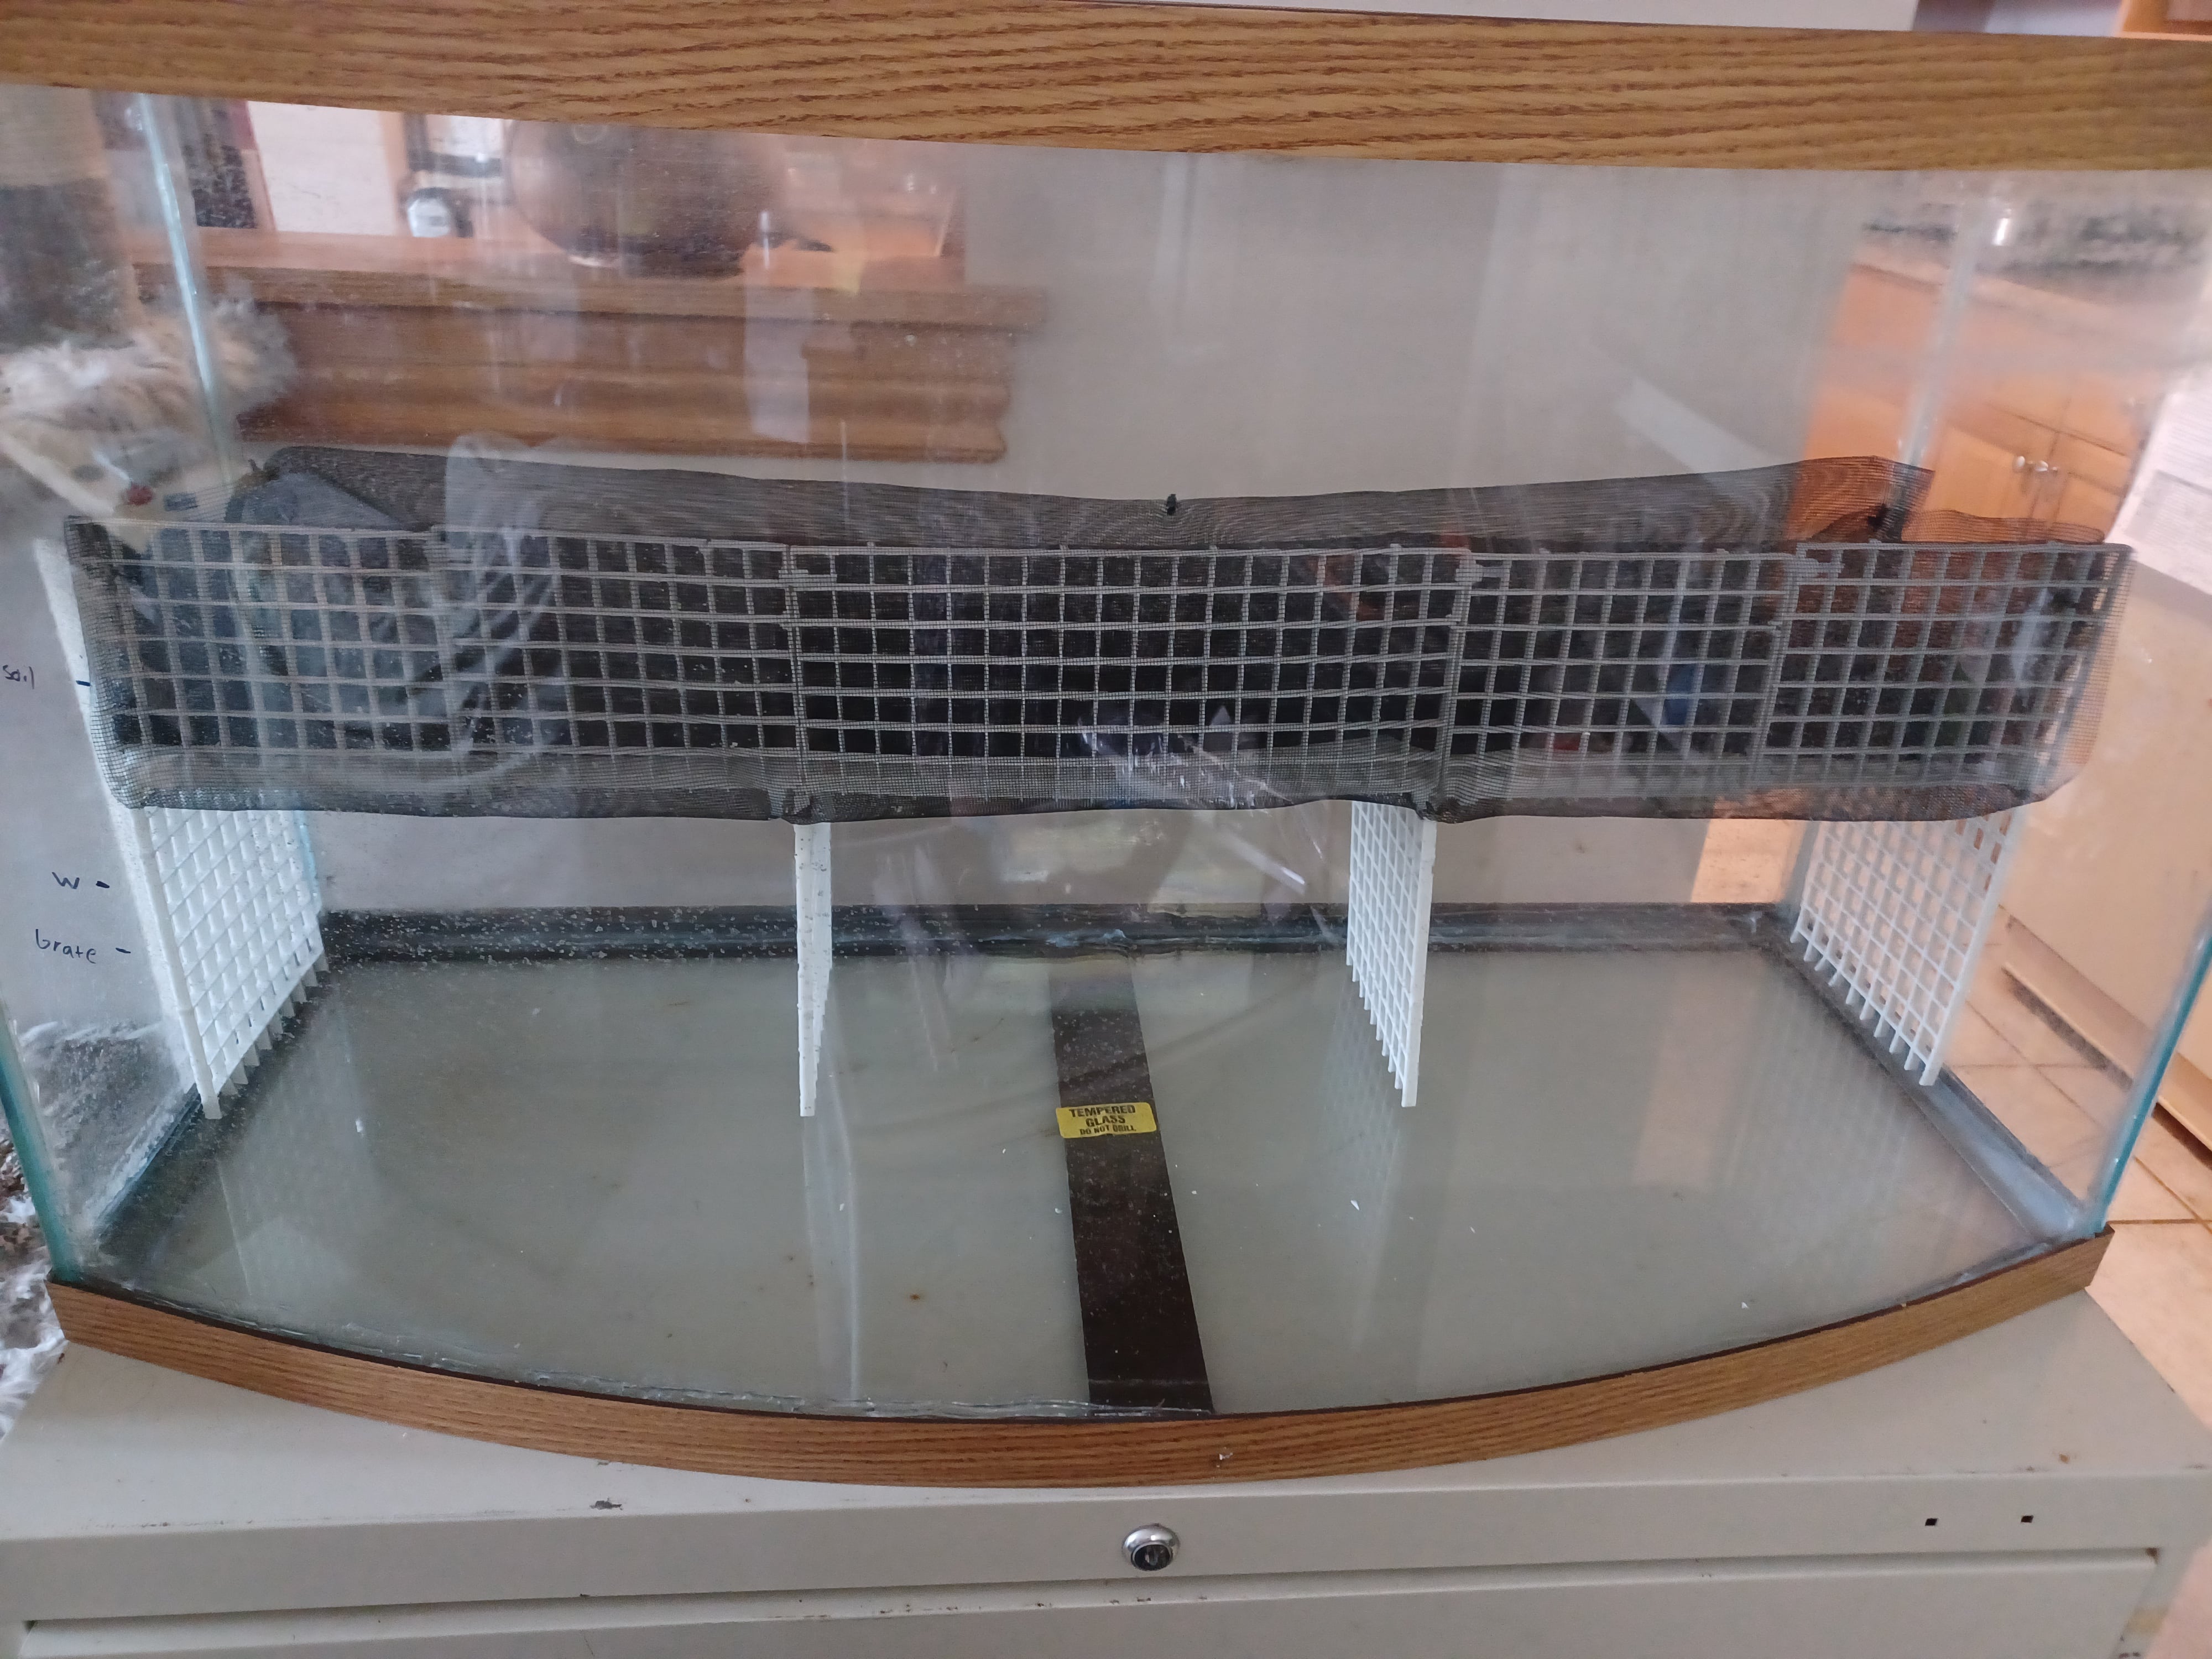
I was able to use leftover sand and gravel from two unrelated projects as the substrate here, thinner than I would have used in a dedicated aquarium but suited for the relatively undemanding aquatic plants I had in mind. A different heap of leftover gravel would act as a crude “false bottom” layer in the land area, helping moderate water absorption into the soil. Potting soil layered nicely above that, filling the land area, with space left for the soil that new plants would bring along. Ideally, I would have used dedicated paludarium substrate that could handle the water level better and used a deeper false bottom, but using leftovers was a priority.

My plan included setting up two airstones beneath the land area, providing aeration for the water and also, I hoped, lodging some air beneath the land area as a backup air source for my air-breathing frogs if they ever got confused down there. Beneath the land area, I set up a few old flowerpots that had previously been caves for kribensis cichlids, since the fish I had in mind would appreciate such environments to explore.

Go Oft Astray
That is where the dry-run success ended.
The first major hurdle was filtration. My original hope was to use the large canister filter left over from my previous aquarium, before I upgraded to a larger tank and filter to match. This would have been overkill of the highest order for the water volume and bio-load of this system, and that was the point: enough filtration to not have to think about filtration, and enough water volume within the filter itself to buffer the relative smallness of the water area. Tragically, despite all my tape-measure ministrations, this canister filter was not able to function within this build. The water level was not high enough to reach the intake, and even with workarounds for that, the head pressure was too low for the filter to operate correctly. I had to set aside this plan and use two smaller filters meant for low water levels, which had come along for the ride with the 46-gallon tank. These worked as desired.
The airstones proved nearly disastrous. Rather than properly aerating the water area, their constant bubble motion continually dislodged soil from the bottom of the land area, dusting the white sand with black dirt until I removed them. Whether because of the airstones’ transient presence or just because the rest of the setup was not optimized, the soil above soon became saturated with water, not dissolved into mud but far wetter than ideal for most plants. Seeking out plants that thrive in such conditions is likely the best solution, but others remain to be explored.
A different sort of surprise emerged from my use of ordinary dried-out sticks found outdoors or used previously in anole enclosures. These released large quantities of tannins into the water once they were submerged, turning it a deep yellow. Many fish and frogs prefer tannin-laced water, so I did not treat this as a problem to be solved. Boiling the sticks first would have removed a large portion of these tannins and may yet prove desirable.
Perhaps the most frustrating, and most unresolved, issue is that my parents did not send along the glass hood for the 46-gallon aquarium and no local stores have this size in stock, forcing me to seek out an online vendor…with whom this is back-ordered with no end in sight. I am making do with mismatched hoods right now, but the result is not ideal. I hope the new hood arrives before too long.
Ready and Waiting
With the land area mostly functional (albeit too wet for my original planting plans) and the water area working, I cycled the tank with some leftover bacteria-in-a-bottle. I rarely use this kind of product, but some came along from Miami with the tank, filters, and some other gear, and without the established canister filter to quick-cycle my tank, this seemed appropriate. I would not be stocking fish heavily from the beginning, so any deficiency in the long-expired bacteria solution would be made up by the fish themselves. I also planted with some Limnophila sessiliflora and Java fern from my main tank and threw in some of the untold masses of Malaysian trumpet snails that inhabit my main tank for good measure. Their service in keeping the substrate aerated would be extra appreciated here.
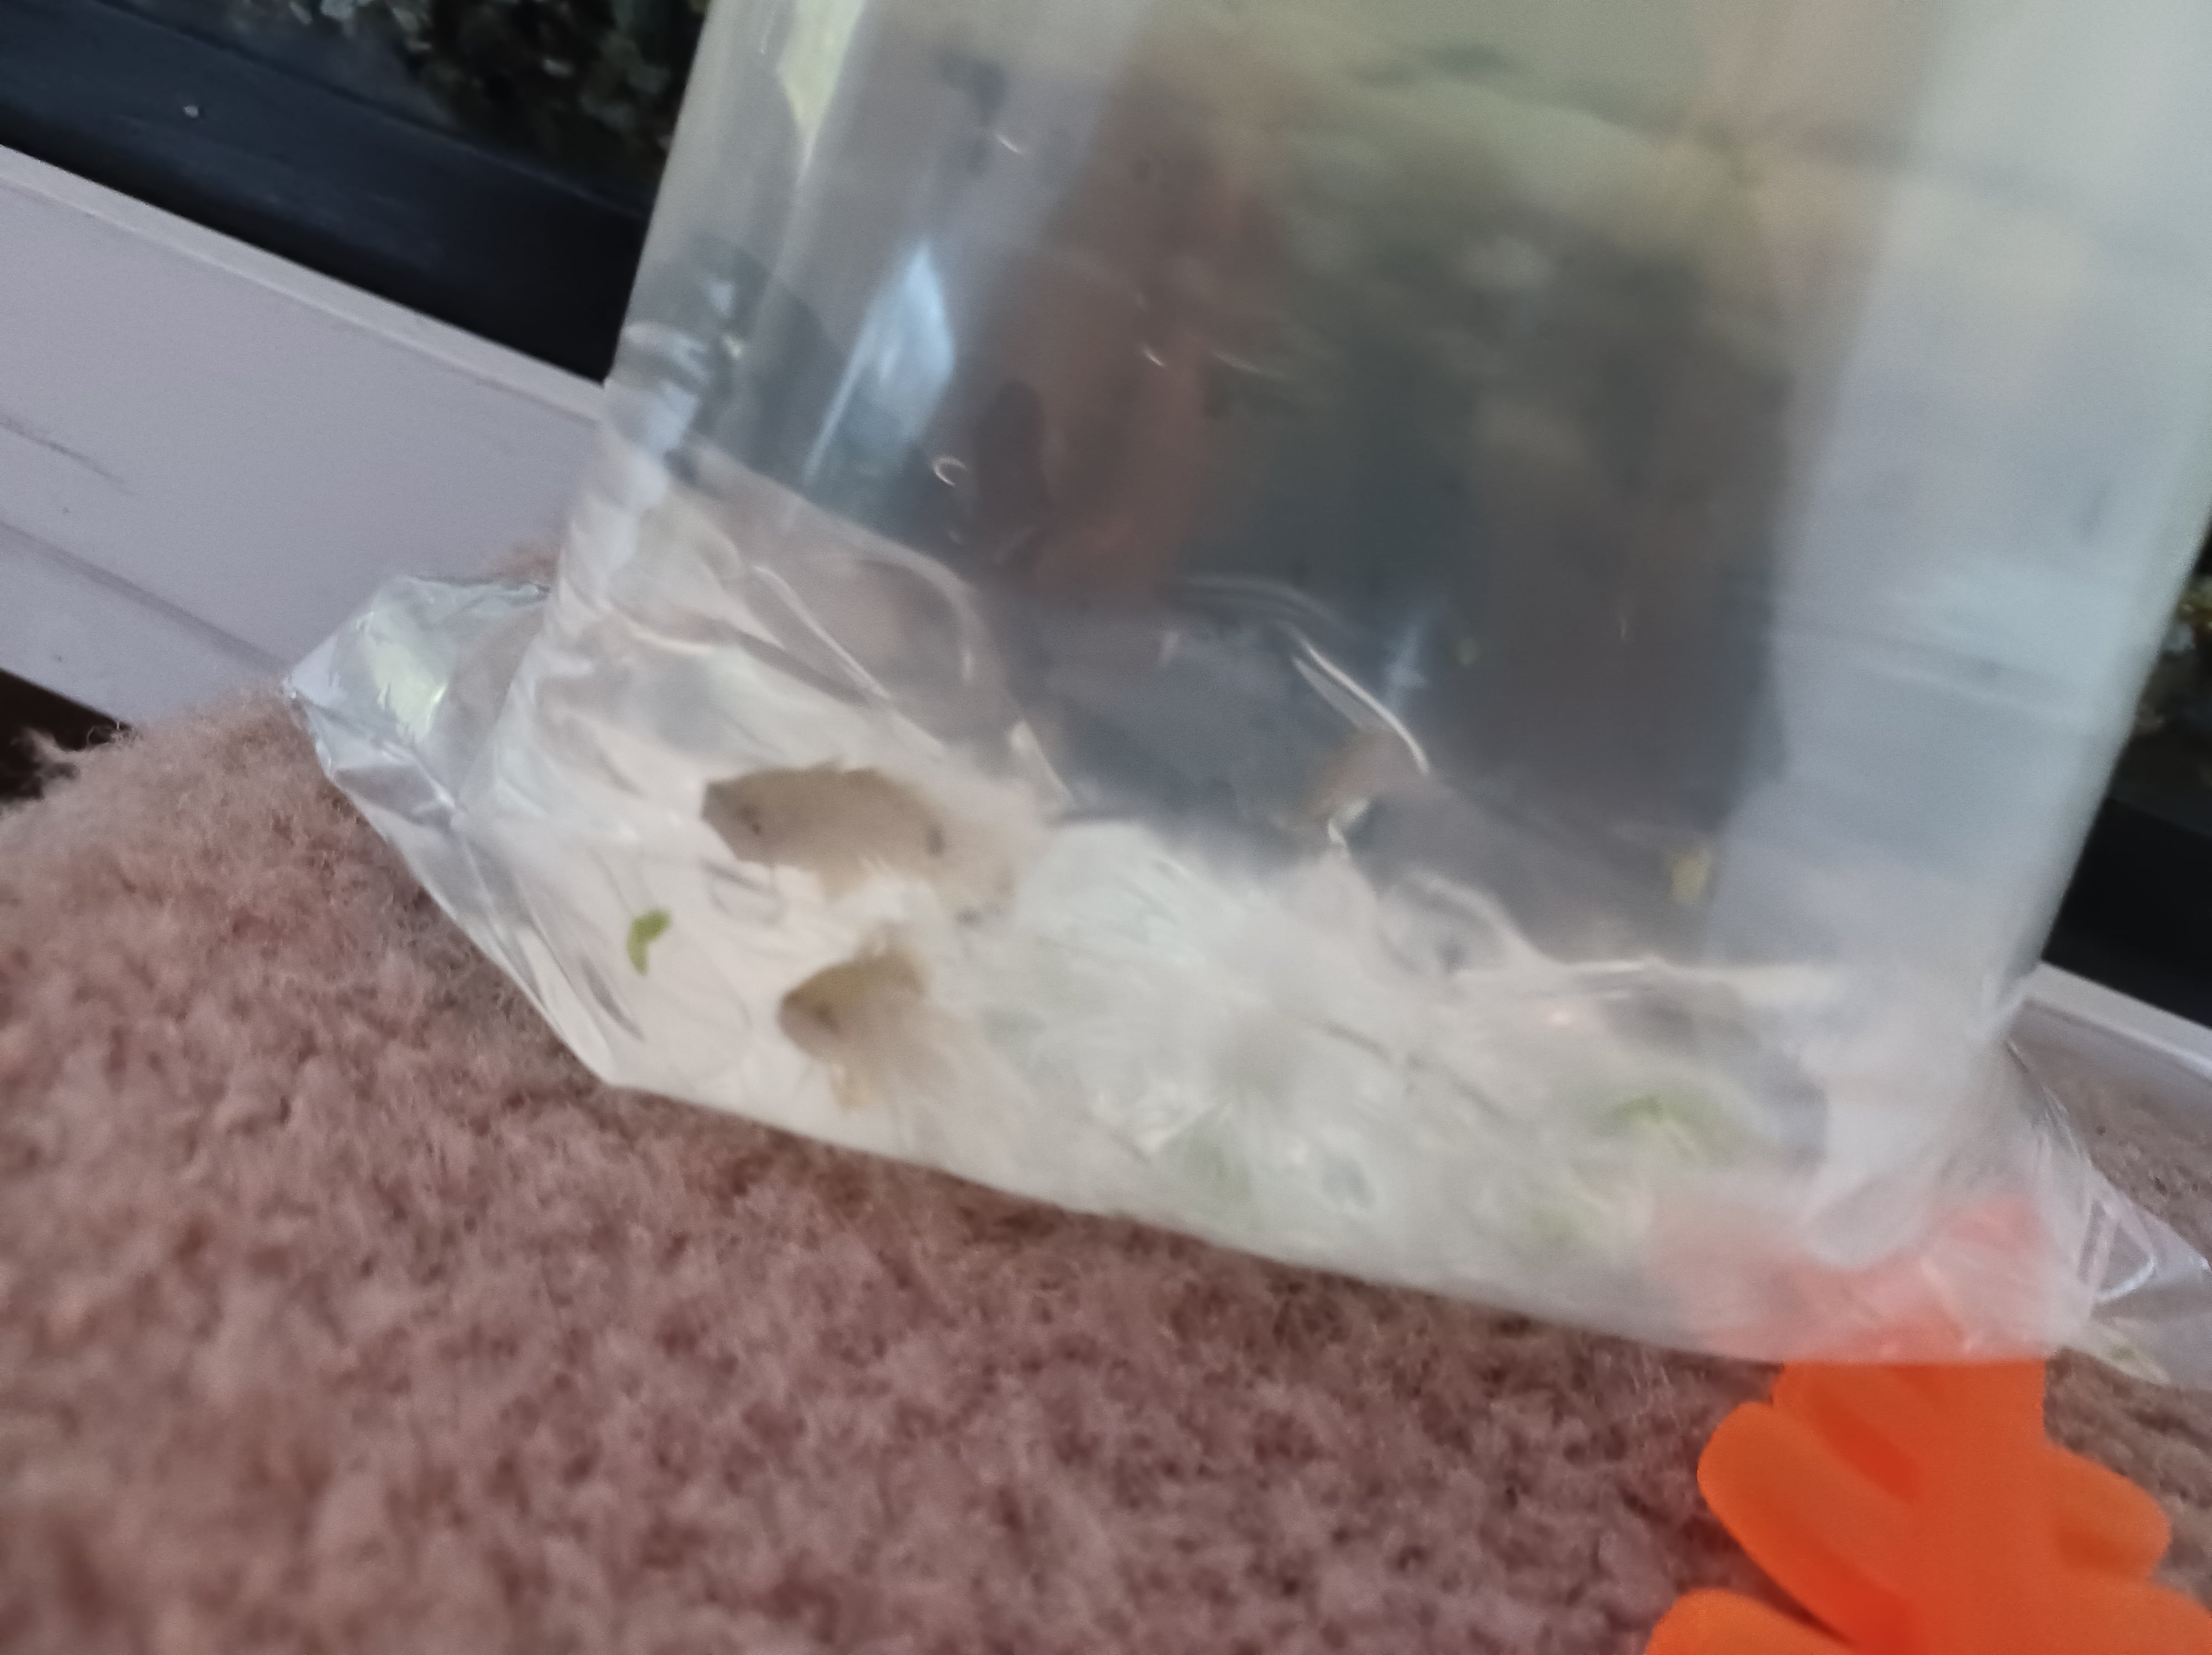
For purchased animals, I started with three peacock gudgeons, Tateurndina ocellicauda. These have been on my wish list for a long time, are ideal for small tanks like this one effectively was, and were in stock, albeit at a rather higher price than I had expected. They are beautiful, even if the tannins in the water make their purple background tone harder to appreciate. I can already tell I am going to adore their cheeky attitude, especially if they take advantage of the flowerpots to try to breed. The African aquatic frogs, Hymenochirus curtipes, I wanted to also include were present but not healthy enough to sell, so adding those would wait; the delay would contribute to adequate bacterial cycling. I had hoped to include cherry shrimp, Neocaridina davidi, but the pet store assured me that the Internet was leading me astray and co-housing peacock gudgeons and cherry shrimp would not end well for the cherry shrimp, so I skipped those.
I also added a miniature Phalaenopsis orchid from Home Depot, anticipating that the humid air of the paludarium and wooden sticks would match the humid rainforest epiphytic lifestyle of these plants. So far, it is not going as well as I had hoped for the orchid, but transitions are hard and the orchid will yet adjust. Other plants are waiting on a friend who will be gifting me a goodly assortment, some of which should survive the overly wet soil. As a backup plan, I am drawing up a different list of plants that prefer wet soil.

Tragically, there will not be Bombina orientalis in this system anytime soon. This species was once a North American pet store mainstay, but a disease has virtually wiped out wholesalers’ stock, making the local trade dependent on local breeders with less consistent schedules. I am keeping an eye on local stores that have relationships with these breeders, since the alternative is mail-order vendors with exorbitant shipping rates. In the meantime, my system slowly settles into itself, the peacock gudgeons have proven insistently charming, and I am proud of what I have created. I could have done without the white egg-crate material showing so clearly through the front of the land area, but this is a minor complaint. Everything else is working more-or-less as desired or shows a way I can make it better. I may yet be able to encourage some manner of moss or vine to cover that egg-crate material and render this whole issue moot.
And that is what I have been up to for the past few weeks. I am excited to see this tank grow, change, and reach its true potential as the weeks, and the improvements, roll in. I hope my experience proves instructive to other would-be paludarium builders, whether as a model to emulate or as a cautionary tale. It’s not perfect, but it’s me, and I’m proud of myself.

This was so great ! Thanks for sharing this!
This was so great ! Thanks for sharing this!
Damızlık Koç Fiyatları
I’m glad you think so 🙂 Thank you. Do you have paludarium plans of your own?